
How to Clean a Night Guard: A Low-Risk Care Routine
Rinse with cool or lukewarm water, brush gently with mild soap, rinse away residue, air-dry completely, and avoid hot water or aggressive scrubbing.
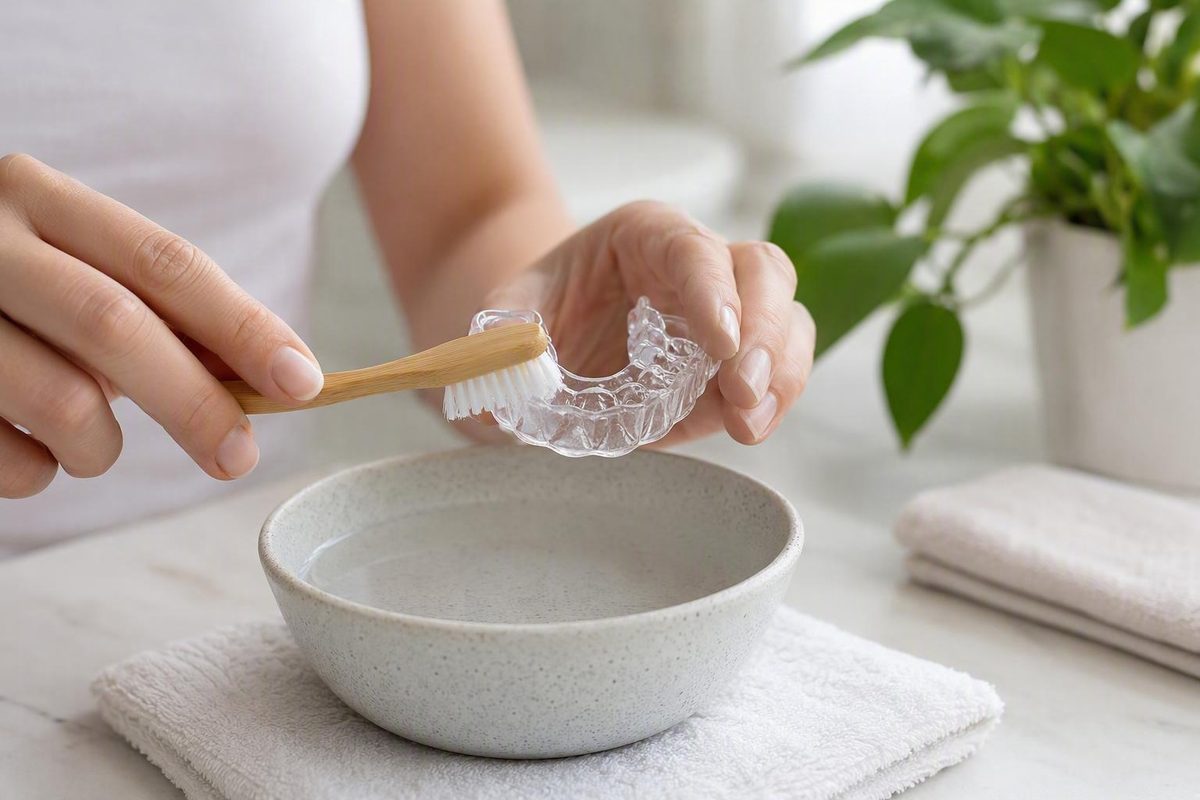
Start with the care instructions for your specific guard. For guards whose instructions allow soap cleaning and dry storage, a straightforward routine is to rinse it promptly with cool or lukewarm water, brush every surface gently with a soft toothbrush and a small amount of mild soap, rinse away all residue, and let it air-dry completely. Once dry, store it in a clean, ventilated case. Avoid hot water and aggressive scrubbing.
Chemical soaks are optional, not essential daily care. Because custom and over-the-counter guards can differ in construction, use vinegar, hydrogen peroxide, cleaning tablets, mouthwash, toothpaste, or an ultrasonic cleaner only when the manufacturer or prescribing dentist confirms that the method is compatible with your appliance.
Related: How to Clean Dental Retainers by Type and Material.
The five-step routine to use after every wear
Use this routine after removing your night guard each morning:
- Rinse it promptly. Hold the guard under cool or lukewarm running water to remove loose saliva and debris. Do not use hot water.
- Apply a small amount of mild soap. Mild liquid soap is a conservative default when the appliance’s care instructions do not specify another cleaner.
- Brush every surface gently. Use a soft-bristled toothbrush and light pressure. Clean the grooves, edges, and surfaces that fit over your teeth. Keeping a separate toothbrush solely for the guard is a practical option.
- Rinse thoroughly. Remove all visible soap and continue rinsing until the appliance no longer feels slippery.
- Air-dry completely. Set the guard on a clean surface where air can circulate. Once fully dry, place it in a clean, sturdy, ventilated case.
Do not scrub harder to remove a stubborn stain or cloudy area.
This routine is a low-risk starting point rather than a claim that one method is suitable for every appliance. If the manufacturer or dentist supplied different instructions for your guard, follow those instructions instead.
Check the guard’s instructions before choosing a cleaner
Night guards are not all constructed in the same way. Over-the-counter products include preformed and heat-molded designs. A cleaner approved for one guard may be unsuitable for another.
Check the packaging, manufacturer’s website, or instructions from your dentist before using:
- Toothpaste
- Mouthwash
- White vinegar
- Hydrogen peroxide
- Dental-appliance or denture-cleaning tablets
- An ultrasonic cleaner
If you do not know what the guard is made from or which products are approved, stay with cool or lukewarm water, mild soap, gentle brushing, thorough rinsing, and dry ventilated storage until you obtain appliance-specific guidance.
Be careful when applying advice written for sports equipment. The American Dental Association discusses custom, stock, and boil-and-bite products on a page focused primarily on athletic mouthguards. Those guards are designed principally to cushion impacts, so their care instructions should not automatically be transferred to an appliance prescribed for nighttime grinding or clenching.
Decay Guide provides general dental reference information rather than diagnosis or individualized treatment. A dentist who can inspect both the appliance and your mouth is better placed to advise on unexplained fit changes, damage, irritation, persistent deposits, or continuing discomfort.
Soap, toothpaste, and optional deep cleaners compared
There is no single deep-cleaning method established as appropriate for every night guard. The table below is a decision aid, not a sequence of treatments.
| Cleaner | When to use it | Main caution |
|---|---|---|
| Mild soap and a soft brush | When allowed by your guard’s care instructions | Rinse away residue; brush gently |
| Toothpaste | Only if explicitly permitted | Abrasive or whitening pastes may scratch the appliance |
| Appliance-cleaning tablets | Use an approved product and its stated time | Do not assume denture tablets suit every night guard |
| Vinegar, peroxide or mouthwash | Only with appliance-specific approval | Household recipes do not establish material compatibility |
| Ultrasonic cleaner | If both the device and guard instructions permit it | Avoid unsupported settings or chemical additives |
Choose one approved routine. Do not mix cleaning chemicals or apply several soaks in succession. Cleaning removes residue; it does not make a home appliance sterile. Persistent deposits deserve a dental inspection rather than stronger chemicals.
Cleaning mistakes that can damage a night guard
Unless the manufacturer or dentist expressly instructs otherwise, do not use:
- Hot or boiling water
- A dishwasher
- A hairdryer or another direct heat source
- Direct sunlight for drying or storage
- Bleach
- Harsh household chemicals
- Abrasive powders or cleaners
- Whitening toothpaste
- Alcohol-containing mouthwash
- An indefinitely long soak
These cautions are based on risk and uncertain material compatibility; they do not mean every listed product will damage every type of guard. Dental-practice care instructions warn that hot or boiling water, dishwashers, hairdryers, direct sunlight, bleach, alcohol-based products, and abrasive cleaners may damage or deform an appliance (night-guard cleaning guidance).
Heat is a particular concern because it can warp or deform some plastic guards and alter how they fit. A professionally made appliance should not be boiled at home. Even if an over-the-counter product was originally molded in hot water, that does not mean it should be repeatedly reheated for cleaning.
If a guard has already warped, do not attempt to soften, bend, boil, or remold it yourself.
Avoid aggressive brushing, fingernail scraping, and improvised abrasive pastes.
Whenever an approved cleaner has a stated soaking limit, set a timer. Longer immersion does not necessarily produce a better result and creates additional chemical exposure. Remove the guard at the specified time, rinse it thoroughly, and check for changes in texture, clarity, or shape.
Mouthwash should not be treated as a universal cleaner. Some dental-practice instructions allow a short soak in alcohol-free mouthwash, while others discourage mouthwash altogether. If the manufacturer or dentist has not approved it, use mild soap rather than experimenting with either alcohol-containing or alcohol-free mouthwash.
Follow the guard’s storage instructions
Storage is not universal. Some acrylic-guard patient instructions require storage in water, while this 3D-printed-guard manufacturer’s instructions prohibit soaking. Use the instructions for the appliance you actually have; if they are missing, ask the prescribing dentist or manufacturer.
For a guard intended for dry storage, let it air-dry fully before placing it in a clean, ventilated case. Wash the case with mild soap and water, rinse it and let it dry as well. Keep both guard and case away from excessive heat and out of reach of pets and young children.
When cleaning is not enough
Stronger chemicals and harder brushing are not appropriate responses to every problem. Persistent odor, structural damage, discomfort, and a changed fit call for inspection rather than escalating the cleaning method.
| Symptom | Practical next step |
|---|---|
| Persistent odor | Clean and fully dry both the guard and its case. If the odor remains, stop trying additional household cleaners and arrange a dental inspection. Persistent odor is listed among the reasons a guard may need professional assessment or replacement in night-guard care guidance. |
| Removable-looking buildup | Repeat the normal gentle routine. Ask the manufacturer or dentist whether one compatible soaking method, an appliance-cleaning tablet, or professional cleaning is appropriate. |
| White deposits, cloudiness, or staining | Do not scrape aggressively. Appearance alone cannot establish whether the change is removable buildup, permanent discoloration, or deterioration of the material. |
| Cracks, tears, holes, thinning, or rough areas | Cleaning cannot repair structural damage. Stop using the guard if the damage affects its comfort or integrity and have it assessed. |
| Warping or distortion | Do not boil, bend, or attempt to reshape the guard at home. Arrange a professional evaluation. |
| A guard that feels unusually tight, binds, slips off easily, or otherwise fits differently | Stop wearing it until a dentist can check the appliance and your bite. |
| Continuing jaw or muscle soreness, irritation, or discomfort | Discontinue use and seek dental advice rather than trying a more aggressive cleaning method. |
Patient instructions for occlusal guards specifically advise stopping use when an appliance is damaged, uncomfortably tight, binding, excessively loose, or associated with continuing muscle or jaw soreness. They also recommend bringing the appliance to dental appointments for inspection and possible professional cleaning.
Take the guard—and, when relevant, its case—to routine dental visits. A dentist can assess wear, fit, roughness, deposits, and whether professional cleaning is appropriate. Replacement decisions should be based on the appliance’s condition and fit rather than a universal lifespan.
For routine care, keep the process simple: rinse with cool or lukewarm water, clean gently with mild soap, rinse again, follow its drying or wet-storage instructions, and keep its case clean. Chemical soaks are optional and material-dependent. Persistent buildup, damage, discomfort, warping, or a changed fit requires dental inspection, not stronger cleaning.